After taking a photo we all want it to look more beautiful. Sometimes the photo looks dull, sometimes the light does not fall properly, and sometimes the color does not look good. Then we need editing. But editing is very hard, right
No, now it is not hard. Because there is a magic called Blue Lightroom Preset.
In this writing I will explain in a very simple way what is Blue Lightroom Preset, why it is popular, how to use it, and how you can make your photo look like cinema with one click.
What is Lightroom App?
First let us talk about Lightroom app. It is an app made by Adobe company. With this app you can edit your photos. That means you can change color, light, shadow, and everything.
This app works on mobile and also on computer. The best thing is it is free. If you want you can take the paid version which has many more features.
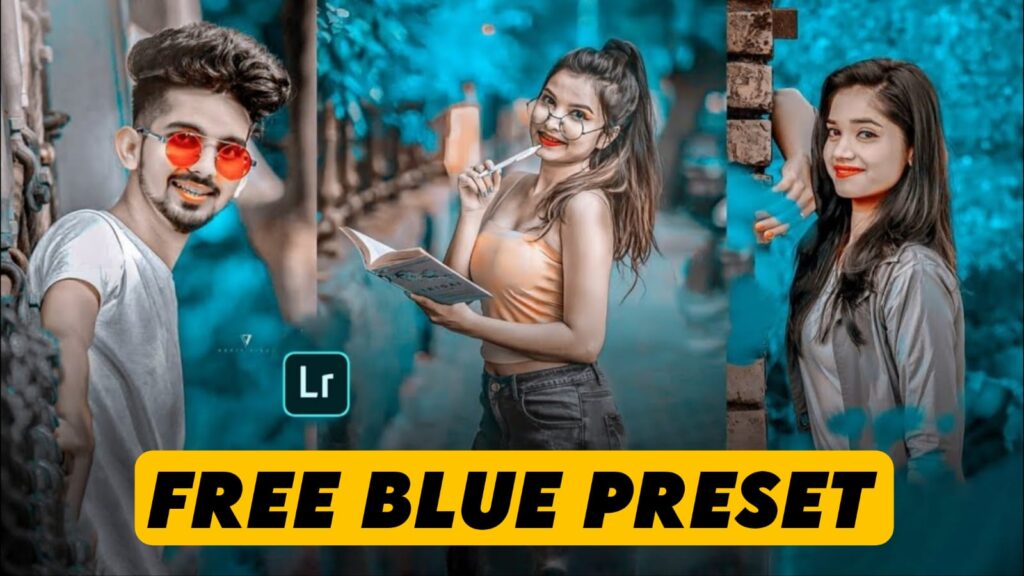
What is Blue Lightroom Preset?
Preset means a setting made before. Suppose someone edits a photo very nicely. He saves the settings in a file. Now if you put that file on your photo your photo will also look like that.
Blue Lightroom Preset means a setting that gives a nice blue cool look to the photo. The photo looks like a professional level photo.
Why is Blue Preset So Popular?
This question is very important. Why do people use Blue Preset
Because
- The photo gets a cool look
- Blue color feels nice to the eyes
- Photos like this get more likes on Instagram or Facebook
- Professional photographers also like this style
How to Use Blue Lightroom Preset
Let us understand step by step
1. Download Lightroom App
Download the Lightroom app from Play Store or App Store on your mobile.
2. Download the Preset File
You can get Blue Lightroom Preset file from different websites. Many websites give it for free.
3. Import Preset in Lightroom App
Open the app and go to Add Photo option to add the preset file.
4. Copy Settings
Open the preset photo, click on three dots, and choose Copy Settings.
5. Paste Settings on Your Photo
Now open your photo and Paste Settings. Done, your photo will look like Blue Preset style.
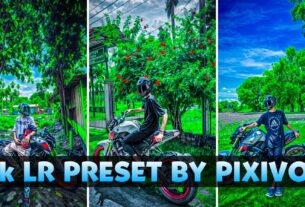
How Does a Photo Look with Blue Preset
When you use this preset the photo gets a blue cool look. The sky looks more blue, the skin looks a little fair, and the whole photo looks like a scene from a movie.
Who Made Blue Lightroom Preset
This preset was made by a photo editor named DM Editor. He is very popular on Instagram. He has more than 3 million followers. He made this preset so that everyone can use it easily.
Lightroom Free vs Paid – Which is Better
| Feature | Free Version | Paid Version |
|---|---|---|
| Use on mobile | Yes | Yes |
| Use on computer | No | Yes |
| Cloud storage | No | Yes 1 TB |
| Fonts and media | No | Yes |
| Premium templates | No | Yes |
| Price | Free | 382.32 rupees per month |
If you are a new editor, then start with the free version. Later if you need more features, you can take the paid version.
Where to Use Blue Lightroom Preset
You can use this preset on
- Instagram post
- Facebook profile
- YouTube thumbnail
- WhatsApp DP
- Photoshoot pictures
Blue Preset – Some Tips for Good Photos
Preset will work but if the photo is not good then settings will not help much. So some tips
- Take photos in good light
- Keep background clean
- Hold camera properly
- Face should be clear in the photo
Final Words
Blue Lightroom Preset is like magic that can make your photo professional in one click. Lightroom app is very easy, and preset is also easy to use. If you love photos then this preset is perfect for you.
You can start today. Just download the app, download the preset, and give your photo a new look. Thank You.