Lightroom Bike Cinematic Presets for Best Photos: Hello friends. How are you all. I hope you are very happy. This talk is only for those who love to travel with bikes and want to upload great photos on Instagram. I have been working with photo editing and writing for more than 10 years. So I know how to make a simple bike photo look like fire.
While everyone is busy with AI images, we will learn today how to make your own photos look professional. Our special tool today is lightroom bike cinematic presets. I will explain it as simple as water so that the little boy in my house can also edit his cycle photos after reading this.
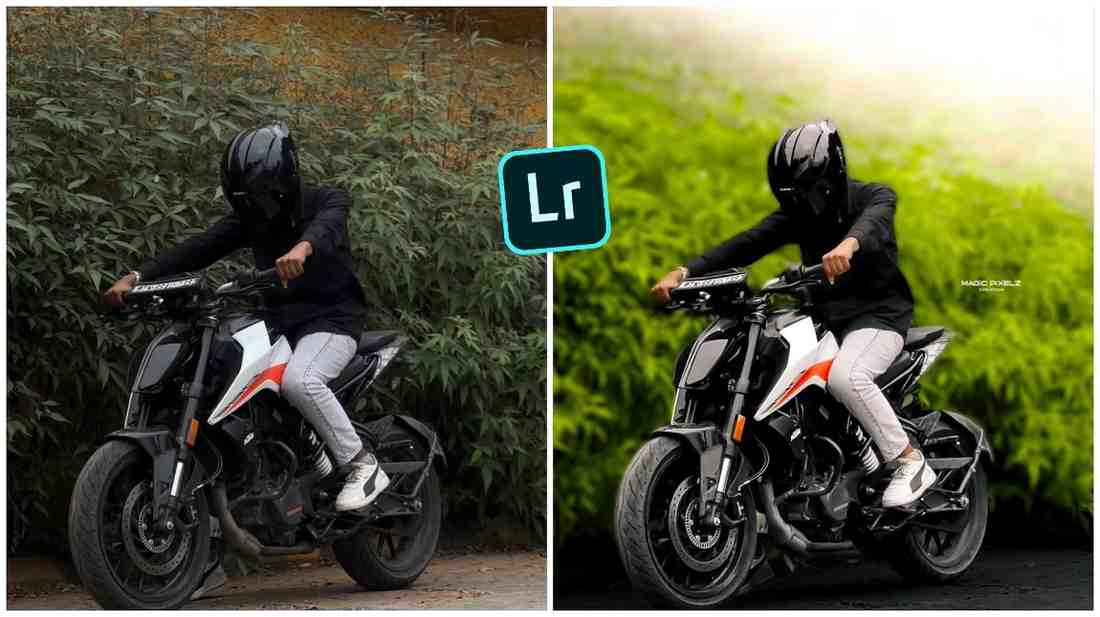
We take a bike photo with a lot of hope. But after taking it, we see the sky is white and the real color of the bike is not clear. It looks dull, right. It feels like we cannot get that cinematic look without a costly camera. This is where simple bikers like us feel lost. We wish we could edit like big bloggers.
Hey boss, do not worry. I am here. You do not need a costly camera. Your smartphone is enough. We will use the magic of Lightroom. For those who do not have time, there will be new cinematic lightroom presets. You can edit with one click using these. For those who like perfect work by hand, I will teach manual settings. Believe me, once you learn this, you will be the editing guru of your friend group.
In this blog today, we will talk about the inner secrets. Not just simple knowledge, but I will give tips from my 10 years of experience. We will learn how to use cinematic lightroom presets bike to make a dusty road photo look like a movie poster.
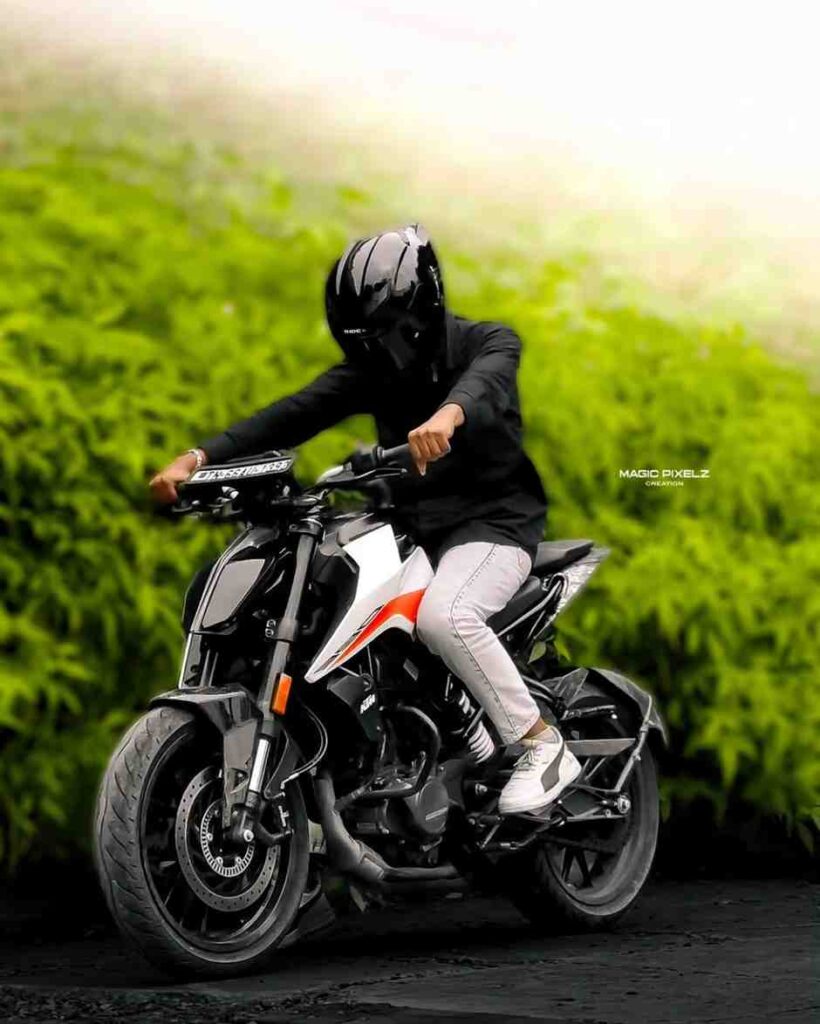
I will teach you how to go inside Lightroom and adjust light. I will show how to use color mix or HSL tool to make the sky deep blue and grass look moody dark green. Also there will be advanced tricks like masking. This will make your bike pop out from the middle of the photo. If you read until the end, you will understand why many people do not get a look like ours even after searching for bike cinematic lightroom presets free. So let us start with the phone in hand.
How to Edit Cinematic Photos Manually in Lightroom
| Setting Type | Tool Name | Action and Value |
| Light Settings | Exposure | Reduce to minus 0.35 |
| Light Settings | Contrast | Increase to plus 25 |
| Light Settings | Highlights | Reduce to minus 60 |
| Light Settings | Shadows | Increase to plus 35 |
| Color Settings | Temp | Cool for morning or Warm for afternoon |
| Color Settings | Vibrance | Increase to plus 15 |
| Color Settings | Saturation | Reduce to minus 8 |
| Color Mix HSL | Green | Saturation minus 70 and move Hue left |
| Color Mix HSL | Orange | Luminance plus 20 for bright face |
| Color Mix HSL | Blue | Increase Saturation and reduce Luminance |
| Effects | Clarity | Increase to plus 12 |
| Effects | Texture | Increase to plus 12 |
| Effects | Vignette | Reduce to minus 22 |
| Masking | Brush Tool | Select bike and increase sharpness |
How To Use Cinematic Bike Lightroom Presets
Many people ask, dada, I do not have much time, can it be done fast. For them I say, you can download bike cinematic lightroom presets free and just copy paste.
- First open a preset photo.
- Click on the three dots at the top and do copy settings.
- Now go to your bike photo and do paste settings. That is it, magic in one second.
How to save photo in Lightroom App
- Editing is done, now it is time to save. Many people make a mistake and save in low resolution.
- Click on the share icon at the top.
- Go to export as option.
- Always select largest available dimensions in the dimensions option and keep image quality 100 percent. This will make your photo great quality.
Conclusion
So friend, did you see. Editing professional bike photos is not hard. You only need the right vision and some simple tips. From my experience of these years, I can say that the more you practice, the better you will get. Now no more simple photos, upload cinematic bike photos.
Which bike is your favorite. And where are you facing problems while editing. Tell me in the comments below, I am ready to help you.